This post may contain affiliate links. I may earn a small commission off of at NO extra cost to you. For more info, view my Privacy Policy.

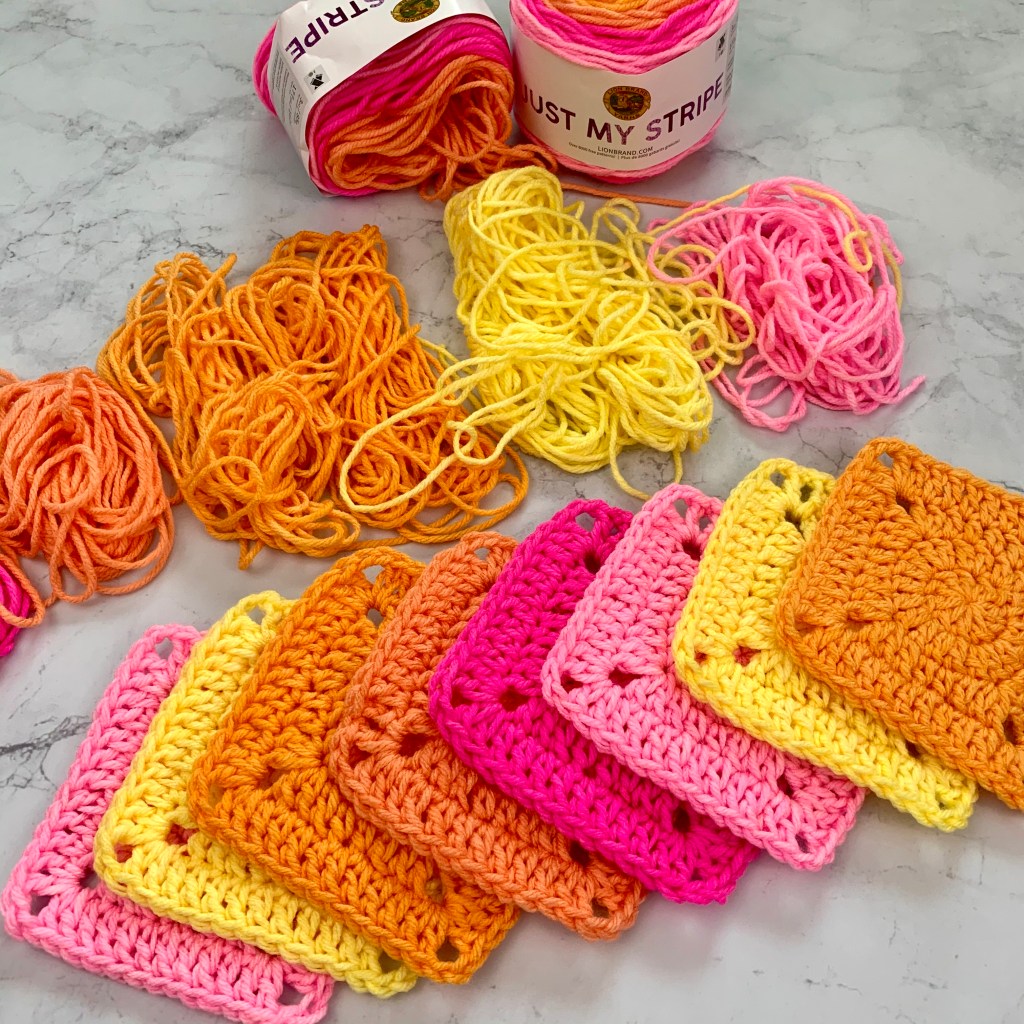
This is my favorite way to make solid granny squares! Don’t get me wrong, your traditional granny square is great, but for me, I’d rather do the closed version. I especially like this technique for blankets.
They start out as circles in the middle and then turn into squares. This is great because it helps to make a solid middle for the square which makes attaching appliqués easier.
I have included both the written and video tutorial!
What Yarn I’m Using –
Actually all those colorful squares came from the exact same skein of yarn. It’s Lion Brand ‘Just my Stripe’ yarn in Strawberry banana.

Some may think that it’s a waste of striped yarn to do this, lol. But, I didn’t have to buy 4 or 5 different skeins, I just bought 1. So far, each skein makes 5 granny squares. I make them 4 rounds big and use a H/5.00mm hook. I do have a bit left over in each color, but I bought multiple skeins in this color way so I’ll save it and make more with all the extra.
Be sure to Follow me on Social Media
Never miss a new tutorial or pattern!
PIN this tutorial to save for later!

Written Pattern –
Stitch Key –
- mc = magic circle/ring
- ch = chain
- dc = double crochet
- hdc = half double crochet
- st = stitch(es)
- sl st = slip stitch
- sp = space
Round 1: make a mc, ch 2 (does NOT count as a st) 10 dc into mc, sl st into 1st dc of round (10)

Round 2: ch 2, 2 dc in each st around, sl st into 1st st of round (20)

Round 3: ch 3 (counts as a dc here and throughout) ( dc, ch 2, 2 dc) in same st as ch 3, dc, hdc in 2 st, dc * ( 2 dc, ch 2, 2 dc) in next st, dc, hdc in 2 st, dc* repeat * to * around, sl st into top of ch 3


Round 4: sl st into next st, sl st into ch 2 sp, ch 3, ( dc, ch 2, 2 dc) in same ch 2 corner, dc in each st across until you reach next ch 2 sp,* ( 2 dc, ch 2, 2 dc) in corner, dc in each st until you reach next corner sp* repeat * to * around, sl st into top of ch 3

Continue repeating round 4 for as many rounds as you would like!
Other Stitch Tutorials You Might Like –
I’d love to see your creations that you make from all of my patterns, be sure to tag me @okiegirlblingnthings on Instagram so I can see. Whether you make these solid granny squares of something else entirely, tag me!
Happy Crocheting!


Live your granny squares, they work up so quickly. I have a question? How do you put your squares together? Do you Sc or do you sew? Also with the various colors what color do you use when seeing or
Crocheting together?
Thanks
Diane
I think the last time I attached granny squares, I sewed them together and the seam is invisible. I will be doing a tutorial for this also!