
This post may contain affiliate links. I may earn a small commission off of at NO extra cost to you. For more info, view my Privacy Policy.
The Dot Border Stitch is such a fun and easy stitch to use for blankets! I used it for the very first time on my Polka Dot Blanket

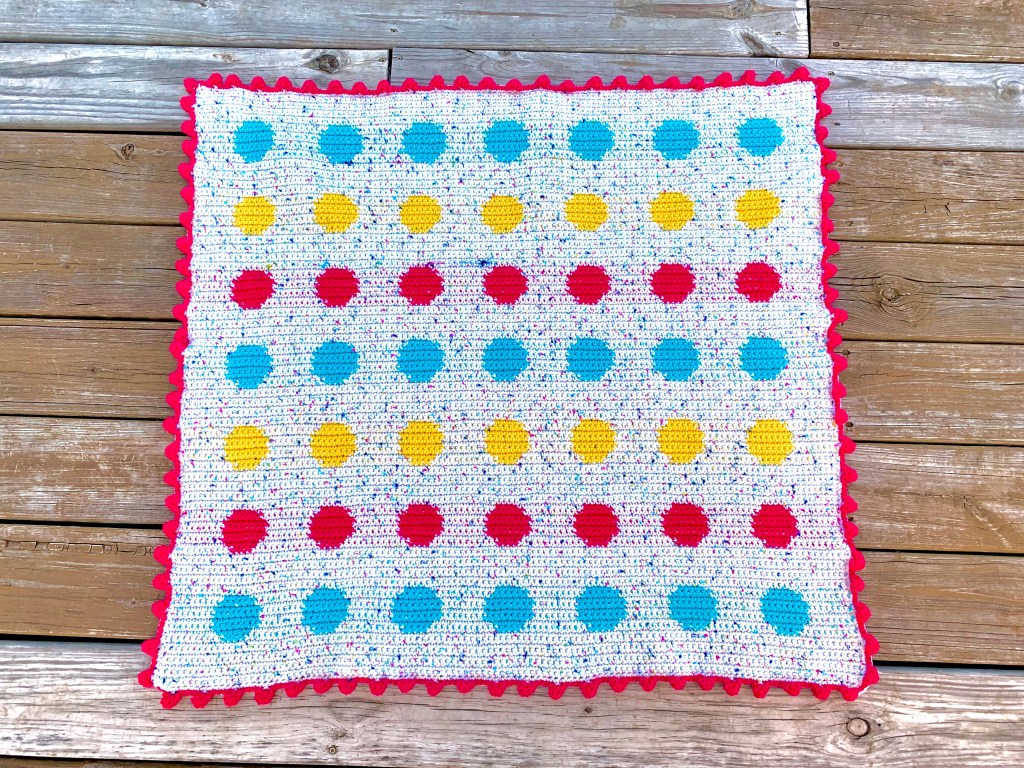
You can find the pattern for my Polka Dot Blanket HERE
Follow me on Social Media!
PIN this tutorial to save for later!
I have included the written pattern and a video tutorial for this stitch.
For this border, you will need to know how to do a dc5tog (double crochet 5 stitches together.
DC5TOG –
Yarn Over (YO), insert hook, YO, pull back through, YO, pull through two loops, *YO, insert hook into SAME space as before, YO, pull back through, YO pull through 2 loops. Repeat from * 3 more times. YO and pull through all 6 loops.

Crochet Dot Border Stitch –
After you have your blanket the desired length that you want it, evenly single crochet all the way around the edges making sure to place 2 single crochets in each corner.
Slip stitch the color of yarn you want the border to be in any where around the blanket. It doesn’t matter where you start the border.
*Chain 3, in the first chain of those chain 3’s dc5tog, slip stitch in the next 5 stitches* repeat * to * around the piece that you are working on


You could work more or less slip stitches in-between the dc5tog. It just depends on how close or far apart you want the dots.
And that’s all there is to the crochet dot border stitch!
Be sure and check all of my other crochet stitches
- Moss Stitch
- Puff Border Stitch
- Moss Stitch in a Square
- C2C (Corner to Corner) Crochet
- Waffle Stitch
- Tapestry Crochet

I would love to see all of your creations that you make using my patterns! Be sure to tag me @okiegirlblingnthings on Instagram so I can see them all!


Did you love this craft?
Make sure to comment below so we can chat about it! Or follow on your favorite social network for even more patterns and tutorials.